We had a lovely warm, sunny day the other day so we took the opportunity to do this. Ideally, bubble painting does need to be done outside or, at the very least, in an area of your house that isn't carpeted. It isn't hugely messy but there is the temptation to go really crazy with the bubbles (as Tommy did!) and it absolutely has to be done!
I set up a table with paints, paper and the ingredients needed to make the bubble mixture. I used plastic cups to make each colour, as it saved on having to clear up later. I love messy activities, but I like to keep any preparation and cleaning-up to an absolute minimum.

To make the bubble mixture, I poured poster paint into a cup to a depth of about 1cm. Using enough paint is key to the process and impact of the finished piece of artwork. If you don't use enough paint, the colour will be too diluted and end up not making a print on the paper. I added some washing up liquid to the cup and topped it up with water and then mixed the ingredients together with a spoon. I tried a test print at this point to make sure the mixture was frothy enough to bubble up and I had used enough paint to make a bright print.
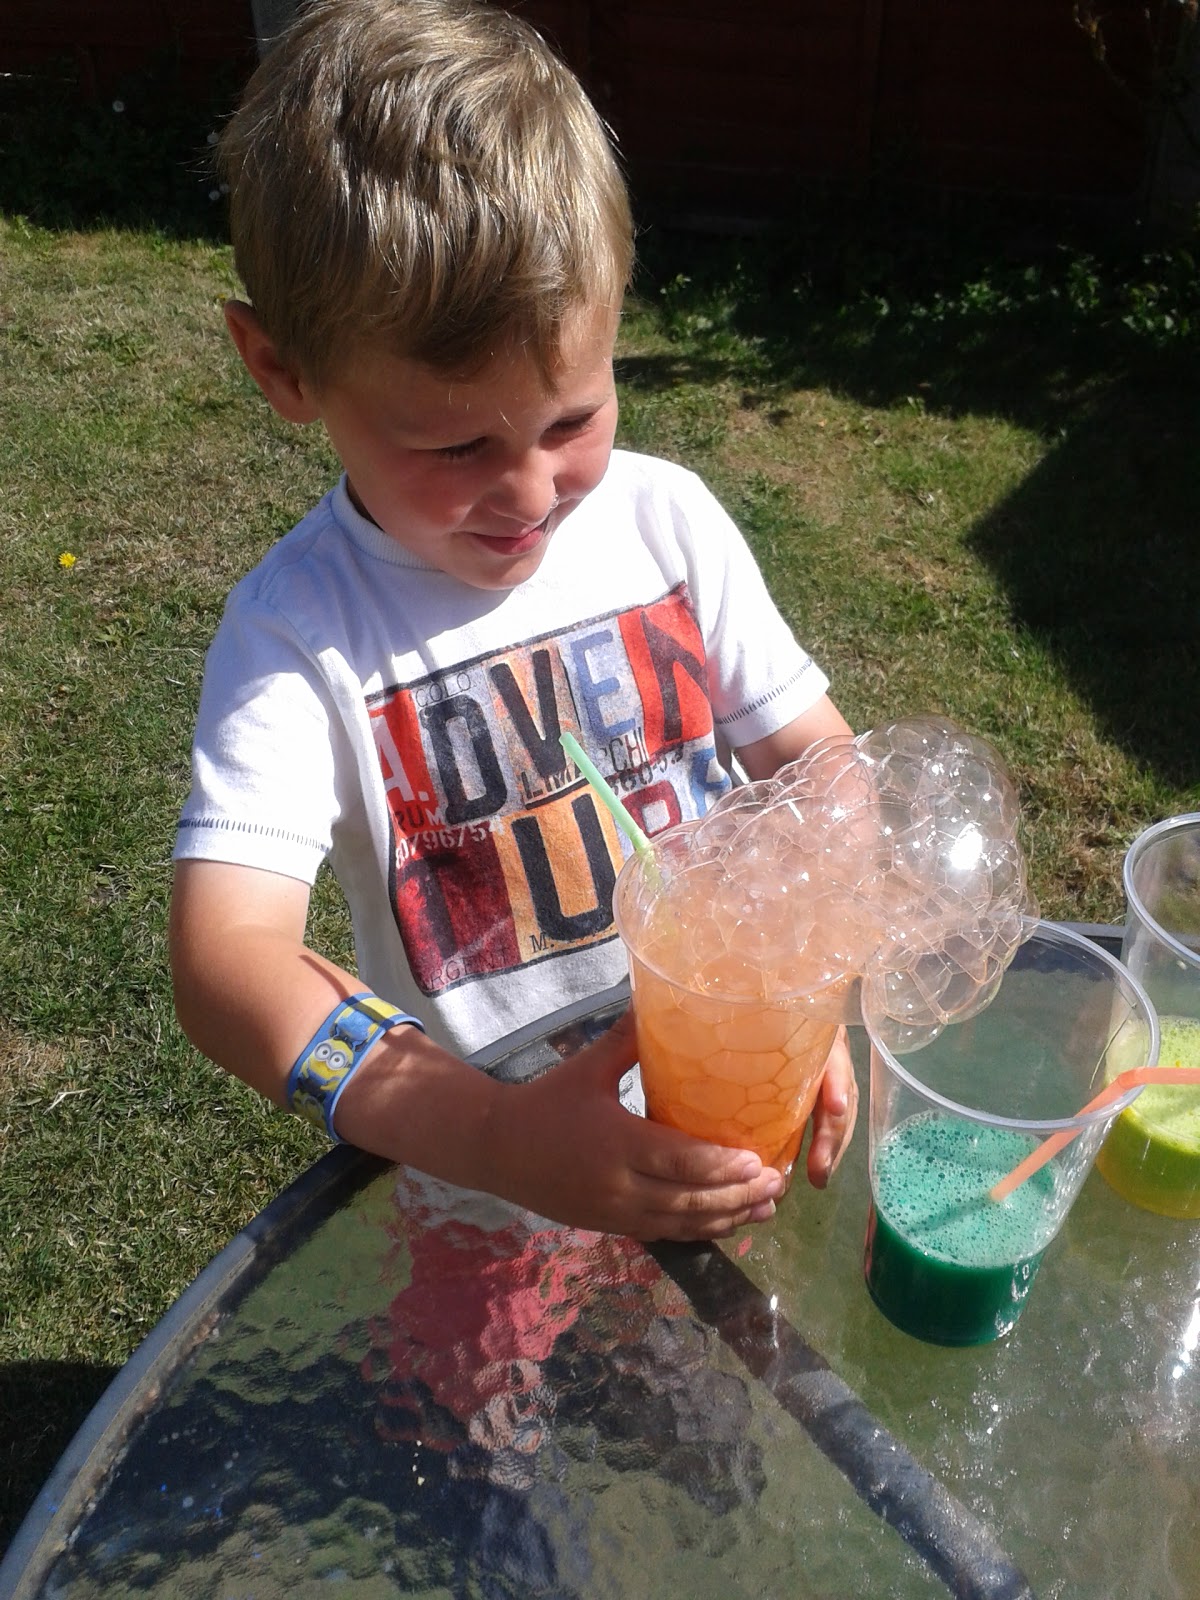
To make your artwork, you simply put a straw in your cup and continue to blow through it until the bubbles reach over the top of the cup. You then place your paper gently over the bubbles to make your print and then repeat with lots of different colours.


We did this activity twice in one day and did it again a few days later using the same bubble paints. Bubble painting is so quick and easy to do, sooooooo much fun and the resulting piece of artwork is really beautiful too. We were really delighted with ours.

No comments:
Post a Comment