Showing posts with label painting. Show all posts

Saturday, 25 July 2015

Our Summer Bucket List - bubble painting

I have absolutely NO idea why we haven't done bubble painting at home before. It's been an activity I've had 'pinned' for years but just completely forgotten about until Tommy came home from nursery the other day. He isn't usually very forthcoming when it comes to sharing what he has been doing at nursery. So on the occasions when he does start to tell me about his day, I know he'll have done something really exciting. Tommy was so excited to tell me all about his bubble painting activity and went into giving me a detailed set of instructions as to how it is done. As it was something I've wanted to do for ages and something Tommy really enjoyed, we decided to add it to our Summer bucket list.

We had a lovely warm, sunny day the other day so we took the opportunity to do this. Ideally, bubble painting does need to be done outside or, at the very least, in an area of your house that isn't carpeted. It isn't hugely messy but there is the temptation to go really crazy with the bubbles (as Tommy did!) and it absolutely has to be done!

I set up a table with paints, paper and the ingredients needed to make the bubble mixture. I used plastic cups to make each colour, as it saved on having to clear up later. I love messy activities, but I like to keep any preparation and cleaning-up to an absolute minimum.


To make the bubble mixture, I poured poster paint into a cup to a depth of about 1cm. Using enough paint is key to the process and impact of the finished piece of artwork. If you don't use enough paint, the colour will be too diluted and end up not making a print on the paper. I added some washing up liquid to the cup and topped it up with water and then mixed the ingredients together with a spoon. I tried a test print at this point to make sure the mixture was frothy enough to bubble up and I had used enough paint to make a bright print.

To make your artwork, you simply put a straw in your cup and continue to blow through it until the bubbles reach over the top of the cup. You then place your paper gently over the bubbles to make your print and then repeat with lots of different colours.
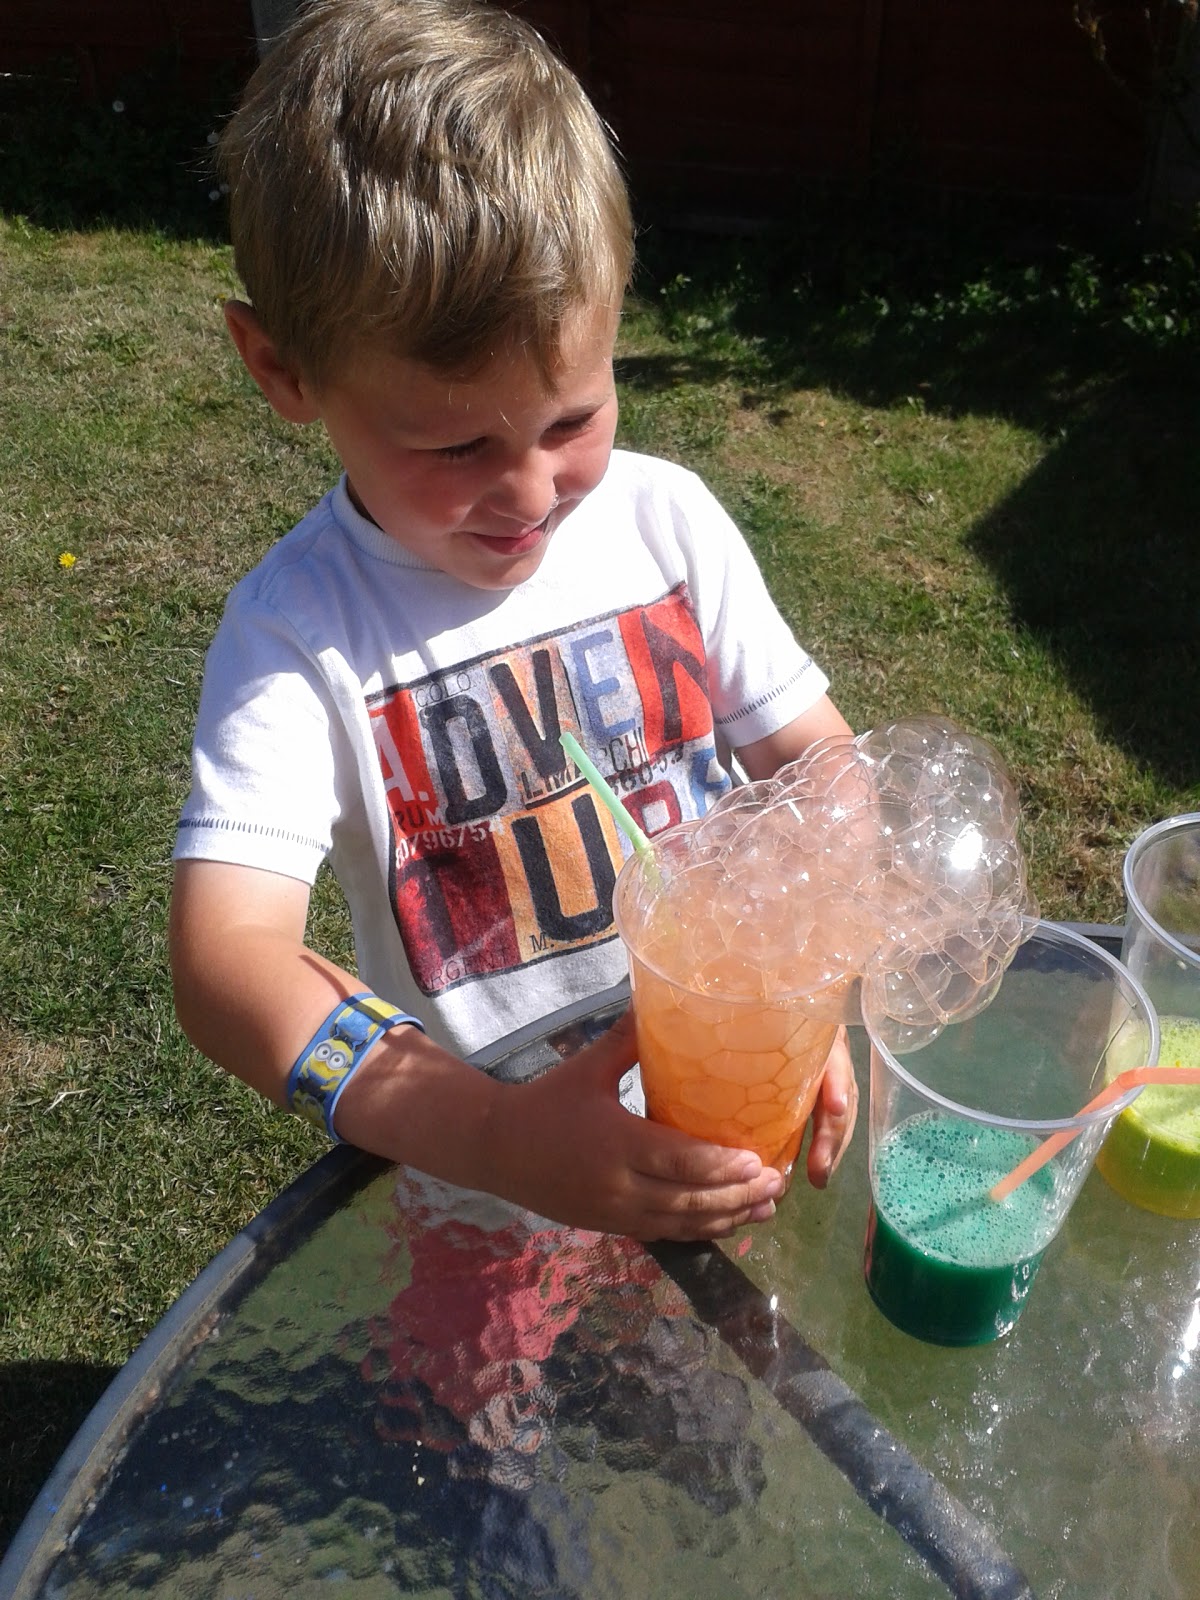


We did this activity twice in one day and did it again a few days later using the same bubble paints. Bubble painting is so quick and easy to do, sooooooo much fun and the resulting piece of artwork is really beautiful too. We were really delighted with ours.


Tuesday, 19 May 2015

Foil Painting

As a child, I loved nothing more than to sit down with a colouring book and some pencils or a pad of paper and just draw/colour away for hours on end. Whilst Tommy definitely looks like me, he certainly isn't like me in terms of the things he enjoys doing the most. He is just an outdoorsy kind of boy; he loves nothing more than running around the garden, playing football, chasing Daddy or the dog and just generally being active. Although he enjoys anything and everything, painting and drawing are probably his least favourite activities. Some people say it's a gender thing, others an age thing but I tend to see it as a personal thing - he's just not really as interested in doing it as he is other things. I am fine with this to an extent, but whilst I want to obviously try and do activities with him I know he will enjoy and not try and force him into doing them, it is important for him to draw and paint regularly to help with his fine motor skills and creative development. Therefore I do build regular opportunities for doing artwork into his time at home.

Whilst Tommy can read a huge number of high frequency words, 'read' numbers up to 100 and knows all of his sounds, he is more reluctant to write and it always feels like I'm pushing him to do it rather than encouraging him. We're trying lots of fun ways of getting him to write at the moment, most of which have been successful, so I really think that I multi-sensory/more practical approach is going to be the route to go down. With this in mind, I've been looking for lots of different ways we can incorporate mark/making and emerging writing into our play. 

We found the idea of foil-painting on Pinterest and thought it would be a good one to try with Tommy. To set it up, we placed long lengths of tin foil in a tuff tray and stuck them down using cellotape. I then drew lots of different patterns on individual coloured cards so that Tommy could practise drawing a range of different shapes. This provided him with a starting point and gave him a little inspiration as to the kinds of patterns he might create. Tommy is getting really good at copying shapes and patterns without having to trace. We used ordinary poster paint for this activity. I was a little worried about how quickly it would dry but it actually surprised me how little time it took. 


I pretty much expected this activity to last for just a few minutes - I always prepare myself for this when we paint or draw, knowing how little Tommy enjoys it. However, we managed to continue this activity for ages. It even warranted me to remove our piece of artwork and replace it with another blank foil canvas and there was a request to do it another day! 

We really enjoyed this activity and it would be lovely to do with a younger child too - the tin foil makes a lovely noise when it's painted on and it's a lovely surface to swirl the paint around on. Here is one of our masterpieces:


Wednesday, 6 May 2015

Blossom Tree Printing

We haven't been doing an awful lot craft-wise lately, as the weather's been so nice and we've been taking the opportunity to have some lovely days out instead. I've had all kinds of ideas for Spring-related projects but we're only just getting round to doing some of them. We made these beautiful blossom trees the other day and I was thrilled with how they turned out so I thought I'd share them with you all.

To make them, we cut a large piece of scrap wallpaper and then I painted a tree outline that filled the paper. We then pressed a 2 litre bottle into some pink and blue paint and pressed it onto the paper lots of times to make it look like blossom. Tommy really enjoyed doing this activity and it's so easy it could be done by a really young toddler.


We'll continue sharing our Spring projects with you. I'd love to hear your ideas for Spring crafts too. It really is such a lovely time of year - I'm enjoying all the beautiful colours and general prettiness it brings.

Thursday, 9 April 2015

Potato Masher Easter Egg Printing

I hope everyone's been enjoying the almost summer-like weather we've been having recently. We have definitely been making the most of it! Whilst it's been sunny and warm, we've snapped up the opportunity to do some outdoor crafting. One of the activities we did recently was printing Easter eggs using a potato masher. This was so easy, quick and, most important of all, FUN!


To make our prints, we used a potato masher (it's important to find the plastic variety, which we didn't find as easy as I had hoped!), some ready-mixed paint and some white card. I tend to make things as easy as possible for myself in terms of setting up/clearing away with craft activities - I find this is particularly important when you have a younger child like we do and they're likely to need feeding/cuddling/changing etc. half way through or just as you finish. With this in mind, I often use cheap paper plates as paint palettes (it saves on the washing up!). I squirted a small splash of different-coloured paint onto the paper plates and made sure the colours overlapped a little. I also taped the card down to a tablecover, so they wouldn't blow away mid activity (yes, this has happened to us before!).

Tommy then got to work, dipping the potato masher in the paint and pressing it onto the paper and lifting it off carefully. He really loved this activity, so much so I had to go and seek out some more
paper, so that he could continue!


The technique is really effective and would make lovely simple Easter cards. Alternatively, individual eggs could be cut out to make decorations.